Who is going stir crazy?! Anyone? Everyone? I know we are in my house.
Things are very different and we are all trying to navigate these weird times. I am trying to stay sane while working from home full time with both my kids. My husband is still working as an “essential” employee since he is in the agricultural field. Weekdays are hard. I can’t stress that enough. Weekdays are HARD. We are making it through as best we can. I am extremely lucky to have such a flexible job that allows me to work from home and adjust my schedule to what works for my life currently.
Outside of work we are trying to stay busy. The kids and I have done so many projects we are running out of craft supplies. Thank goodness for grandparents because they have all been sending supplies to keep us entertained.
Unfortunately, my photography business isn’t as flexible and definitely isn’t “essential.” I have had to cancel/reschedule several sessions and I hate it! One of my wedding couples had to postpone their wedding date and I can’t even imagine how hard that must be. Several of my smaller sessions were for things that aren’t easy to reschedule and my clients are sad to not get photos of these special moments in their lives; maternity pictures, first birthdays, etc..
Stressing about all this gave me an idea. I can’t meet with my clients to provide my services right now for safety and legal reasons, but I thought I might still be able to help. Why not give them the tools they need to capture their own milestone photos, whatever that milestone may be. Or maybe there is no big milestone other than “that time we were all in quarantine.” Either way, let’s do it.
Below are 6 tips to help you capture your own professional photos. Grab your camera (or your phone) and let’s get to work. Side note: a lot of my examples are geared towards children as the subject, but you can make it work with anyone.
Follow my tips below to improve your photography skills:
- Lighting is key
If you are going to take anything away from this post it’s this one right here. Lighting can make or break your picture.
Outdoor photos can be tricky if you don’t get the lighting right. A subject in direct sunlight can be overexposed and even if they aren’t they may find it difficult to look at the camera without squinting. If you have a backyard (or use your front yard) go outside and find some shade. The best shade is going to have as little breakthrough sun as possible (no random spots of sunlight on the subject). For sunny days the subject should have their back to the sun. This will prevent any harsh lighting or patches of light on their face or bodies. On overcast days, have your subject facing the sun even if they are in the shade. This will illuminate them as much as possible.

If you are indoors, have your subject near natural light like a window or open your front door if possible. Make sure you are not blocking the light or casting shadows. You want as little shadow on them as possible, unless shadow is what you are going for. Make sure they are facing the light source and you’ll have your back to the light source (or be out in it).
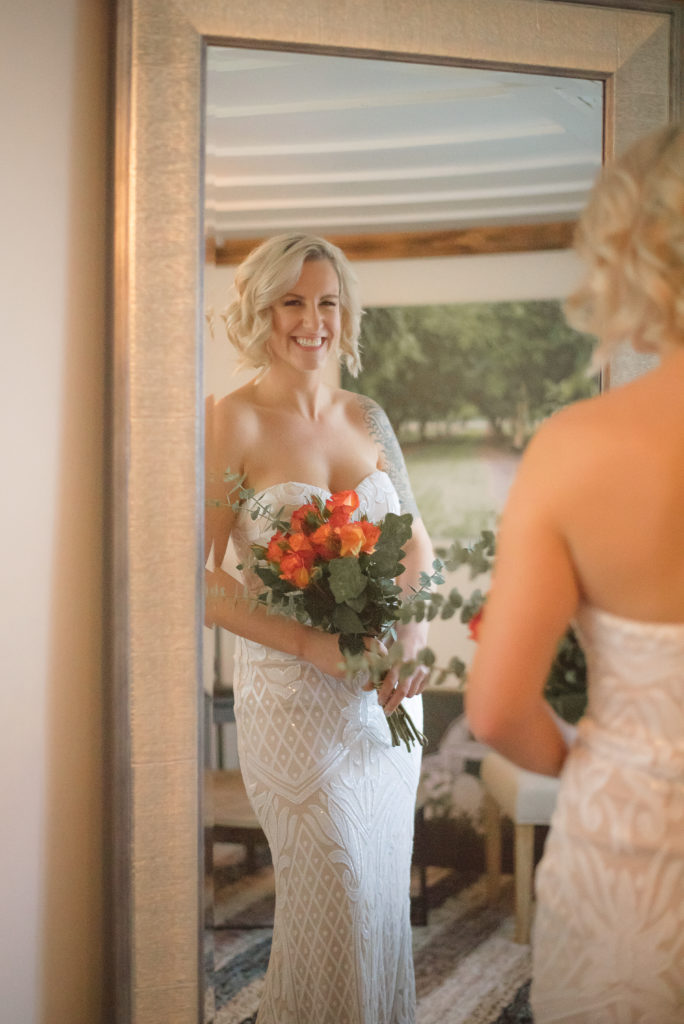
Pay attention to the light around you throughout the day and try to avoid taking pictures when it is directly overhead. You’ll get more even light if the sun is lower in the sky on a sunny day; either early morning or later afternoon. Overcast usually provides a nice even light throughout the day.
- Separate your subject from the background
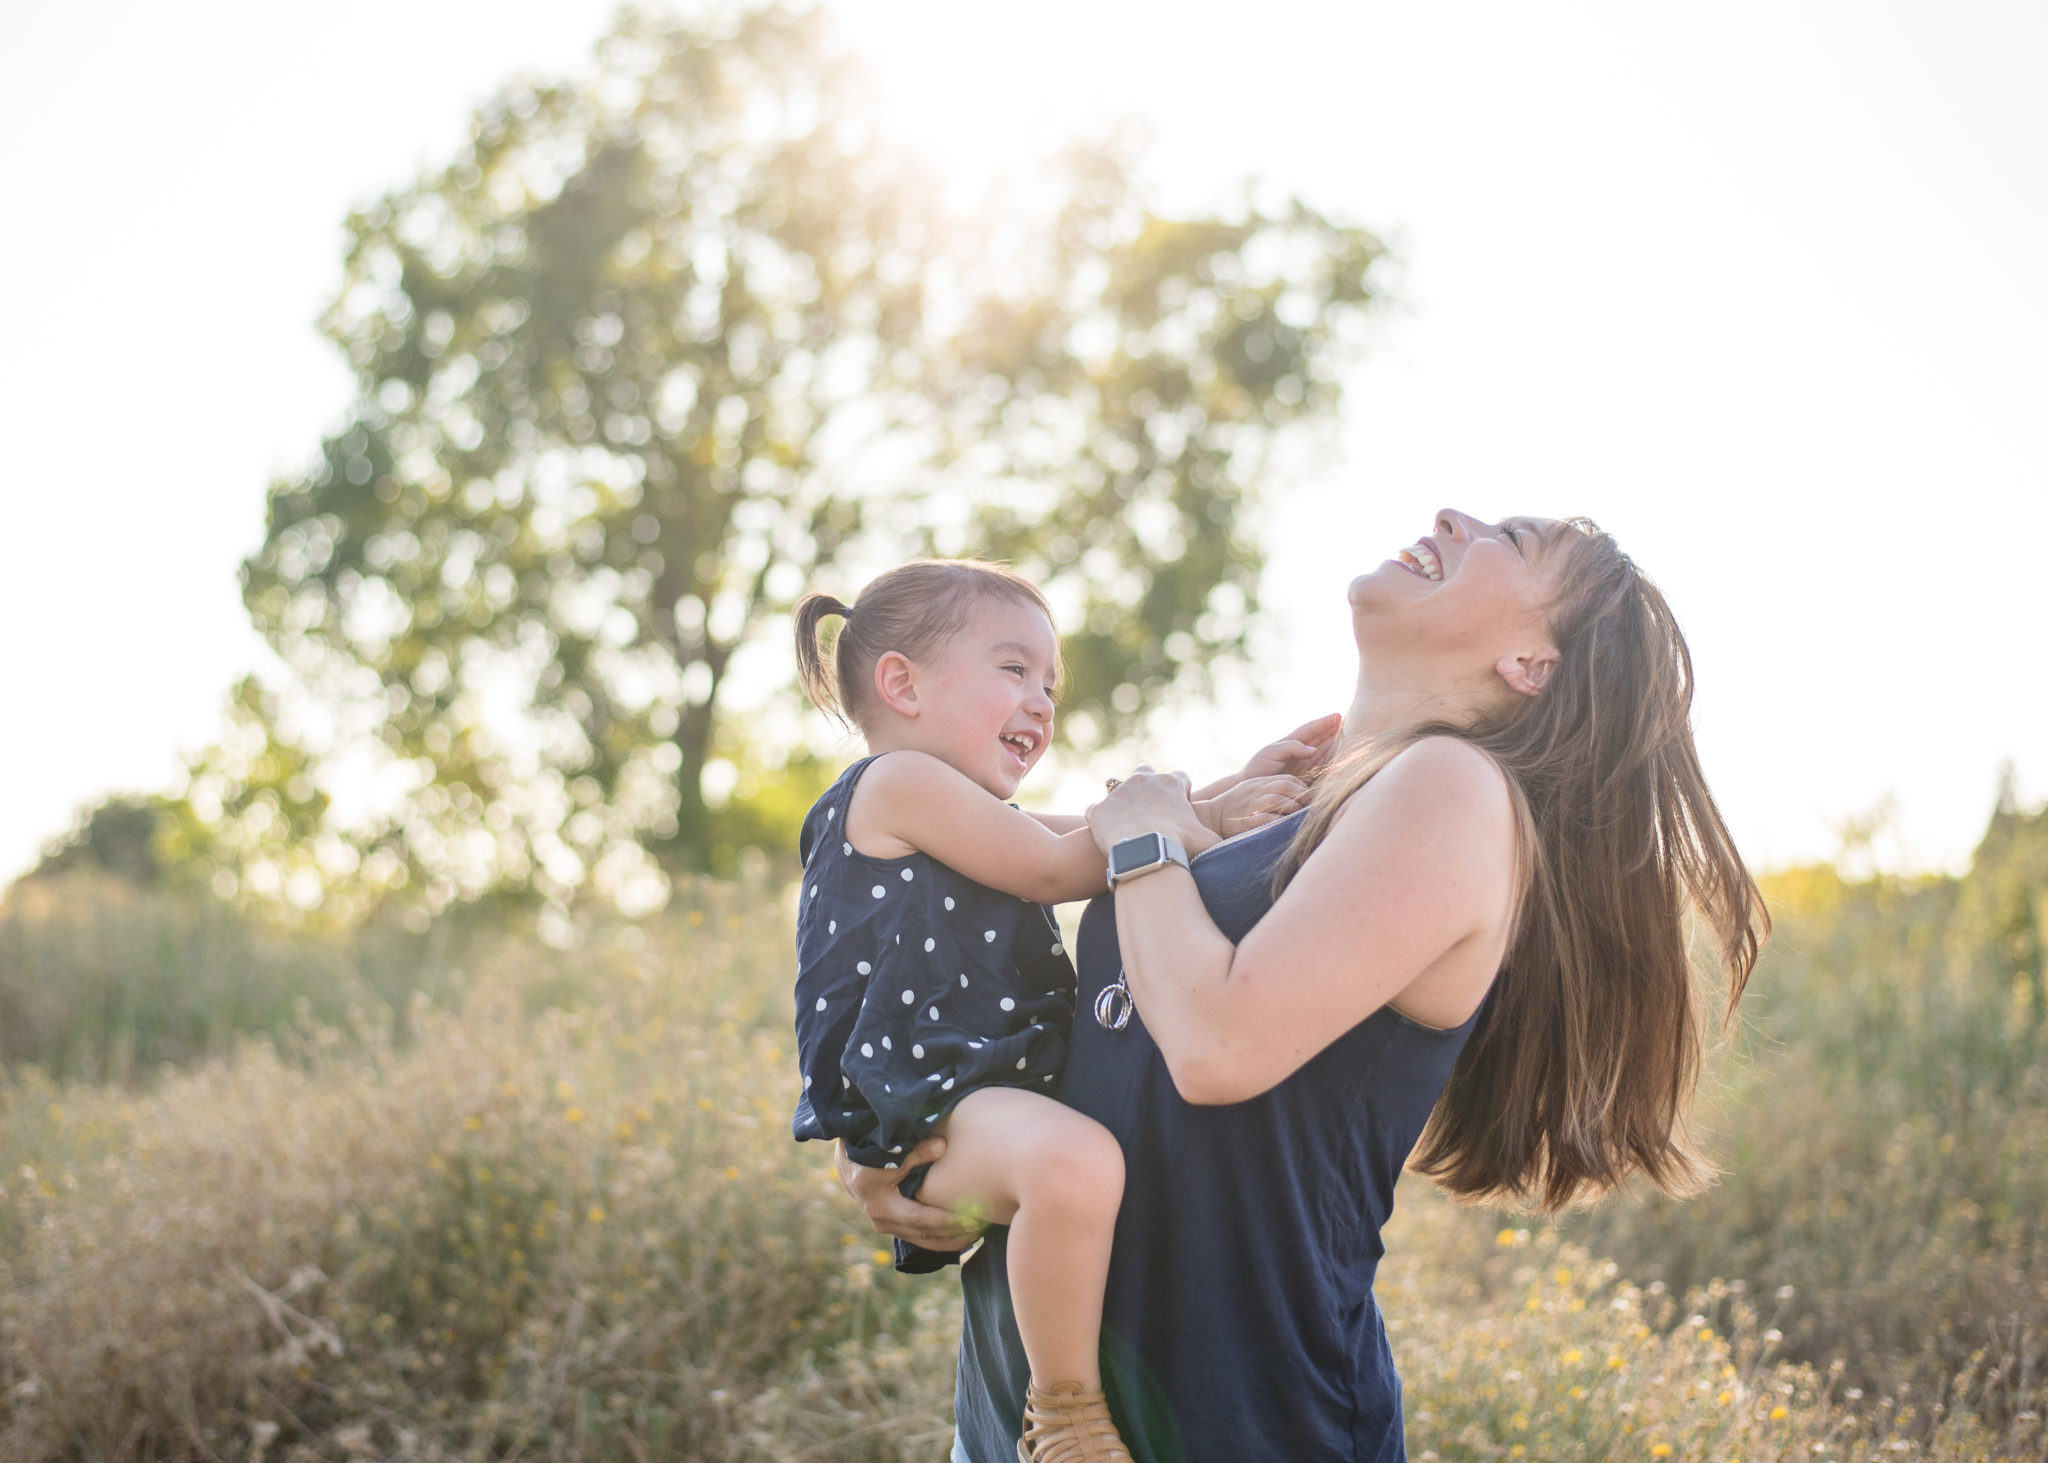
In order to get the focus solely on your subject you want to move them away from anything in the background that you don’t want to be part of the photo. If you are outdoors have them stand or sit at least a few feet away from trees or bushes, ideally in front of it.
If you are using a camera and have some understanding of shooting in manual you’ll want to have your aperture low to help give a shallow depth of field (to blur out the background). Focus should be put on the subjects face.
- Declutter your surroundings
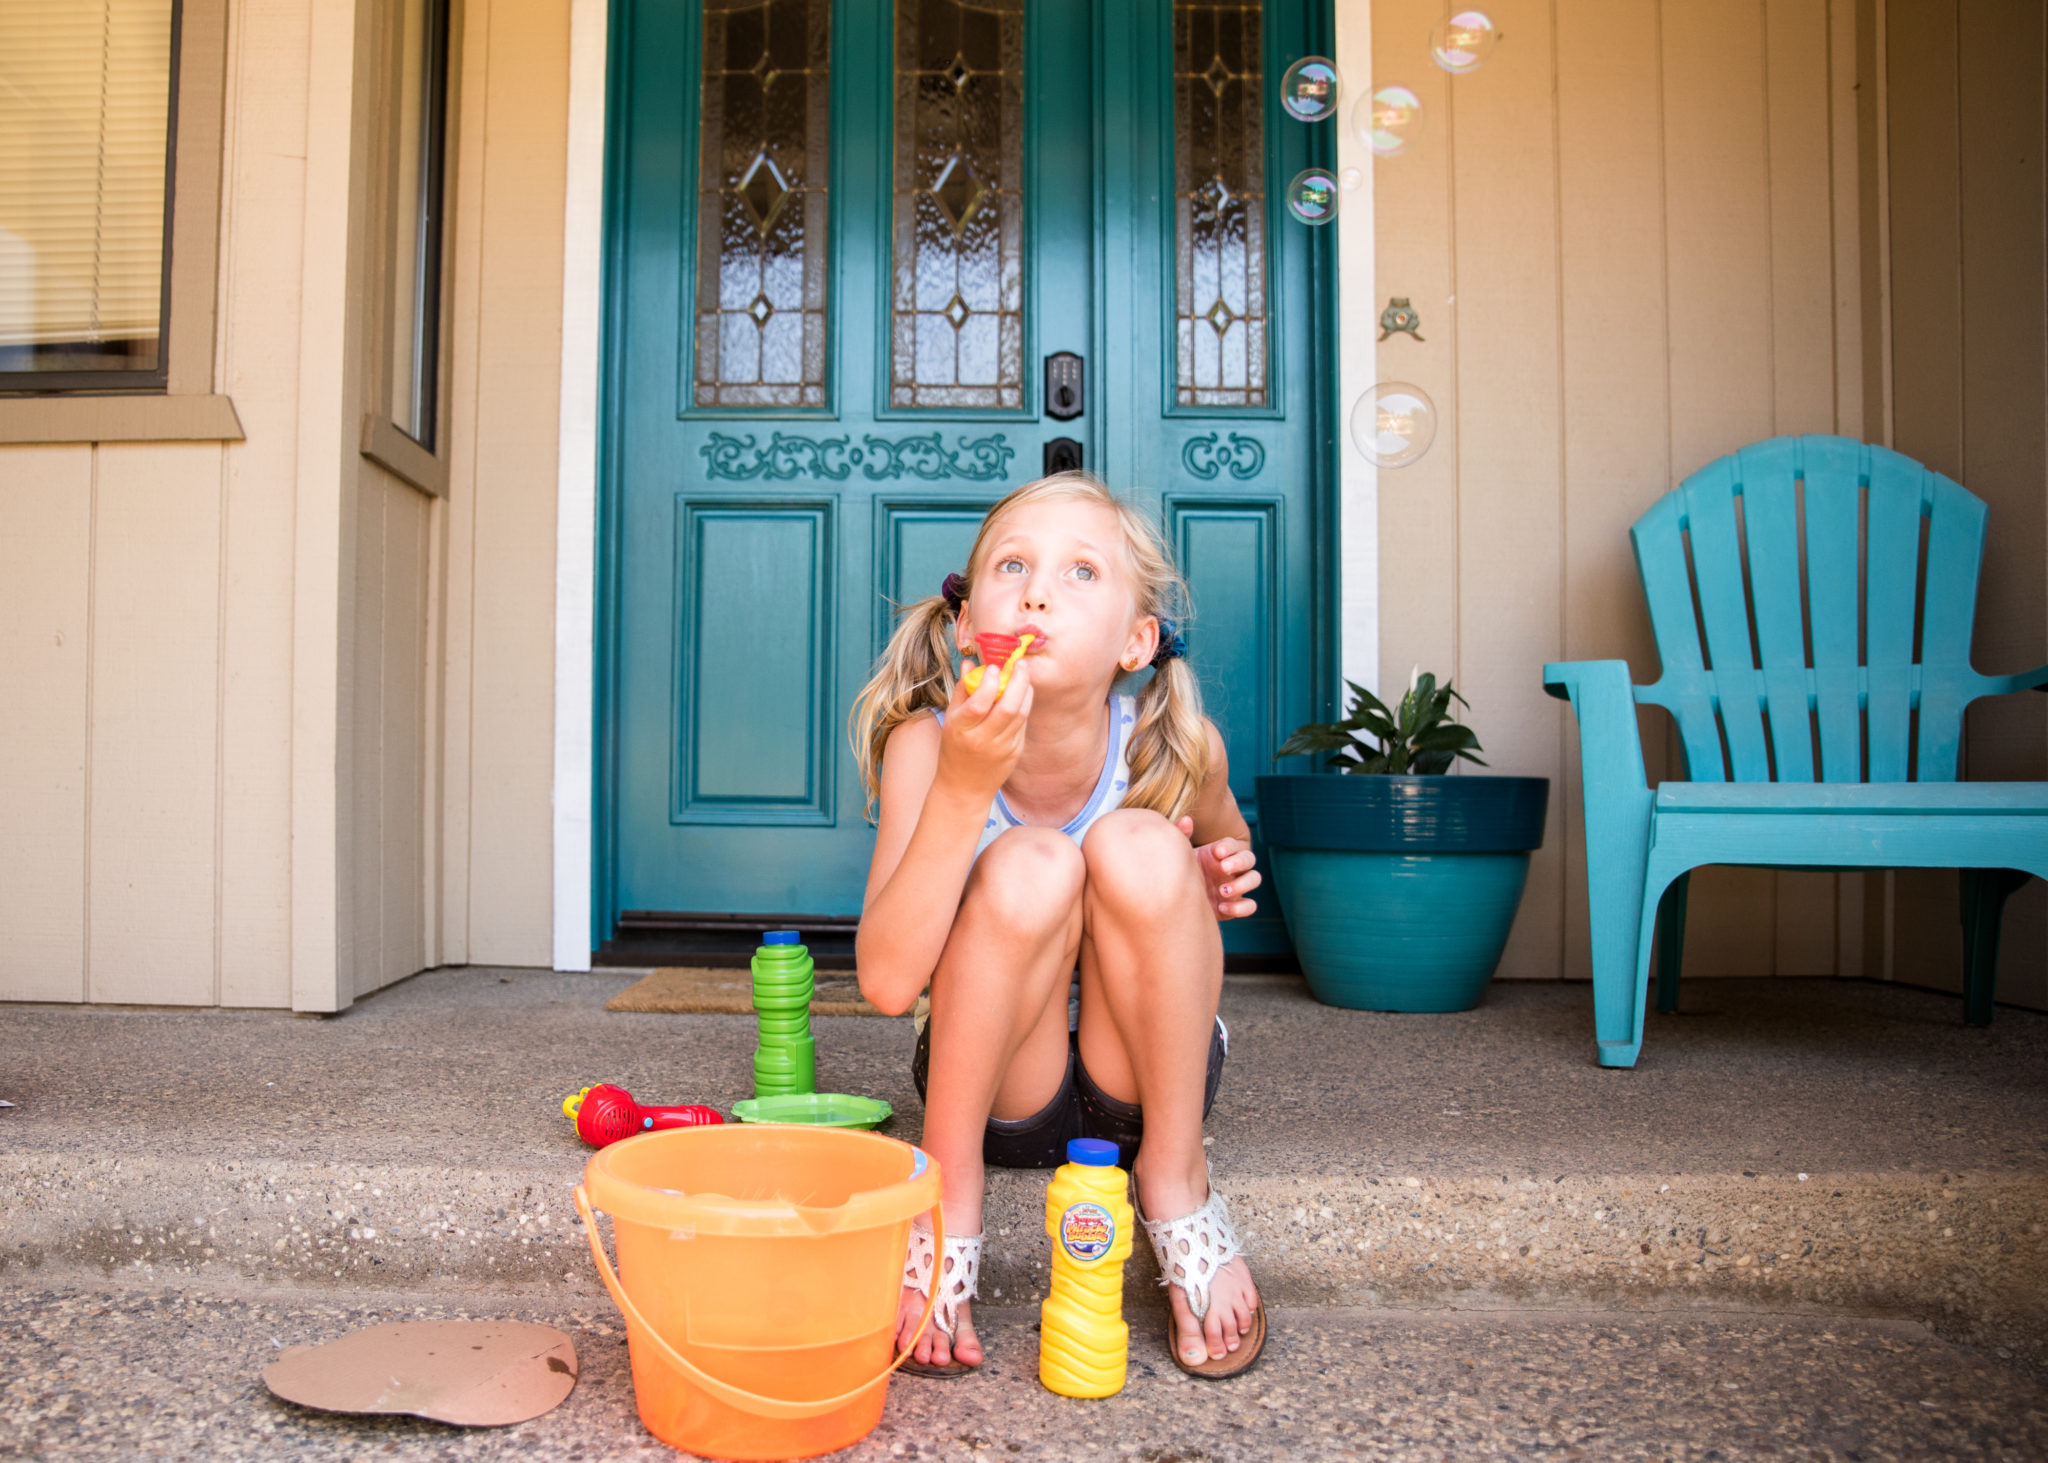
This one goes hand-in-hand with the last one, but deserves it’s own point. Whether you are indoors or outdoors, make sure that the focus stays on your subject. In order to do this, take a look at what is around them and behind them. Look through your lens and see if you notice things that draw attention away from your subject. Is there a toy behind them? Or a random piece of furniture that you could easily move? Move it. You may not think about it now, but when you go back and look at the picture later it adds noise and takes away from the subject. For everyday photos of your kids I say embrace the surroundings, it’s part of life. But in order to capture a special moment it really helps to clear what you can.
- Get rid of the flash
I play around with my flash when it suits the situation, but if I have nice light I prefer to shoot without it. We’ve all seen how a flash can really change the color and look of a photo. Not to mention it can really irritate your subjects eyes if you are taking several pictures. If you have enough natural light, you don’t really need it.
- Change your perspective
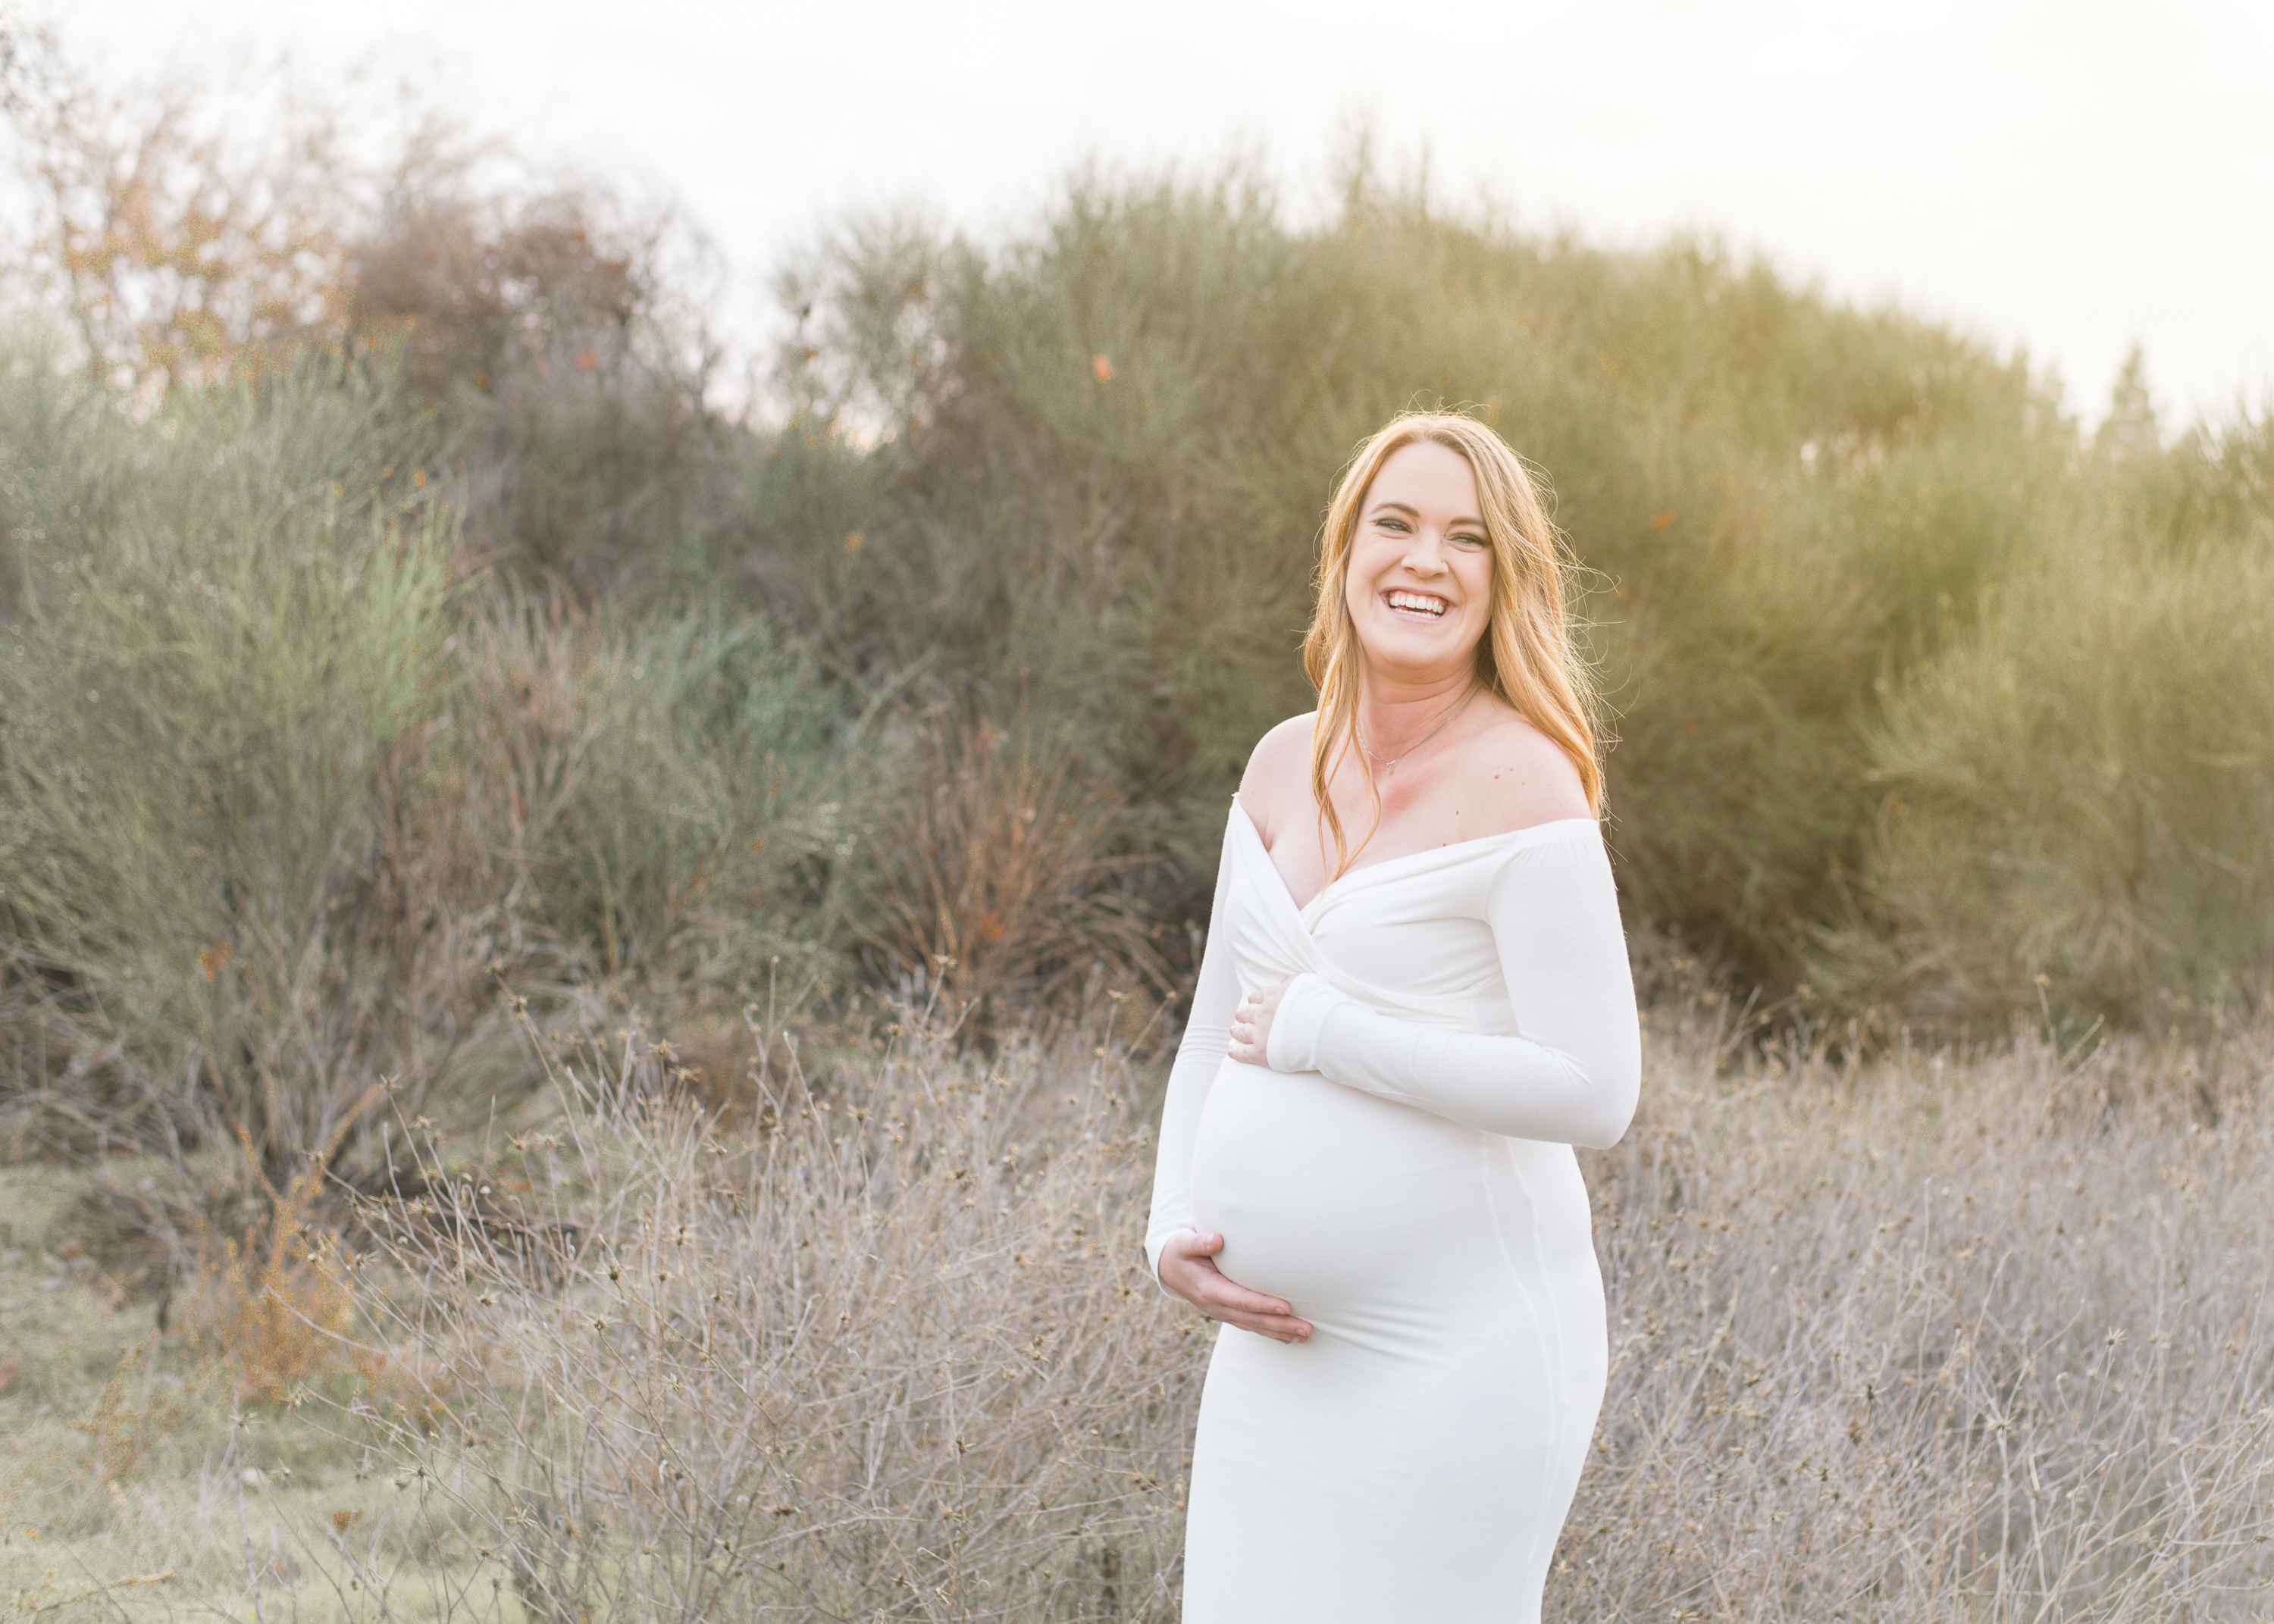
The go to position when you take a picture of someone is always front and center, right? But it’s not the most creative. Get your front and center shot, but then change it up. Go above them and have them look up (or don’t). Get down low and shoot up at them. Left. Right. You get the idea. But the point is to move around them so you get a variety of angles and shots.
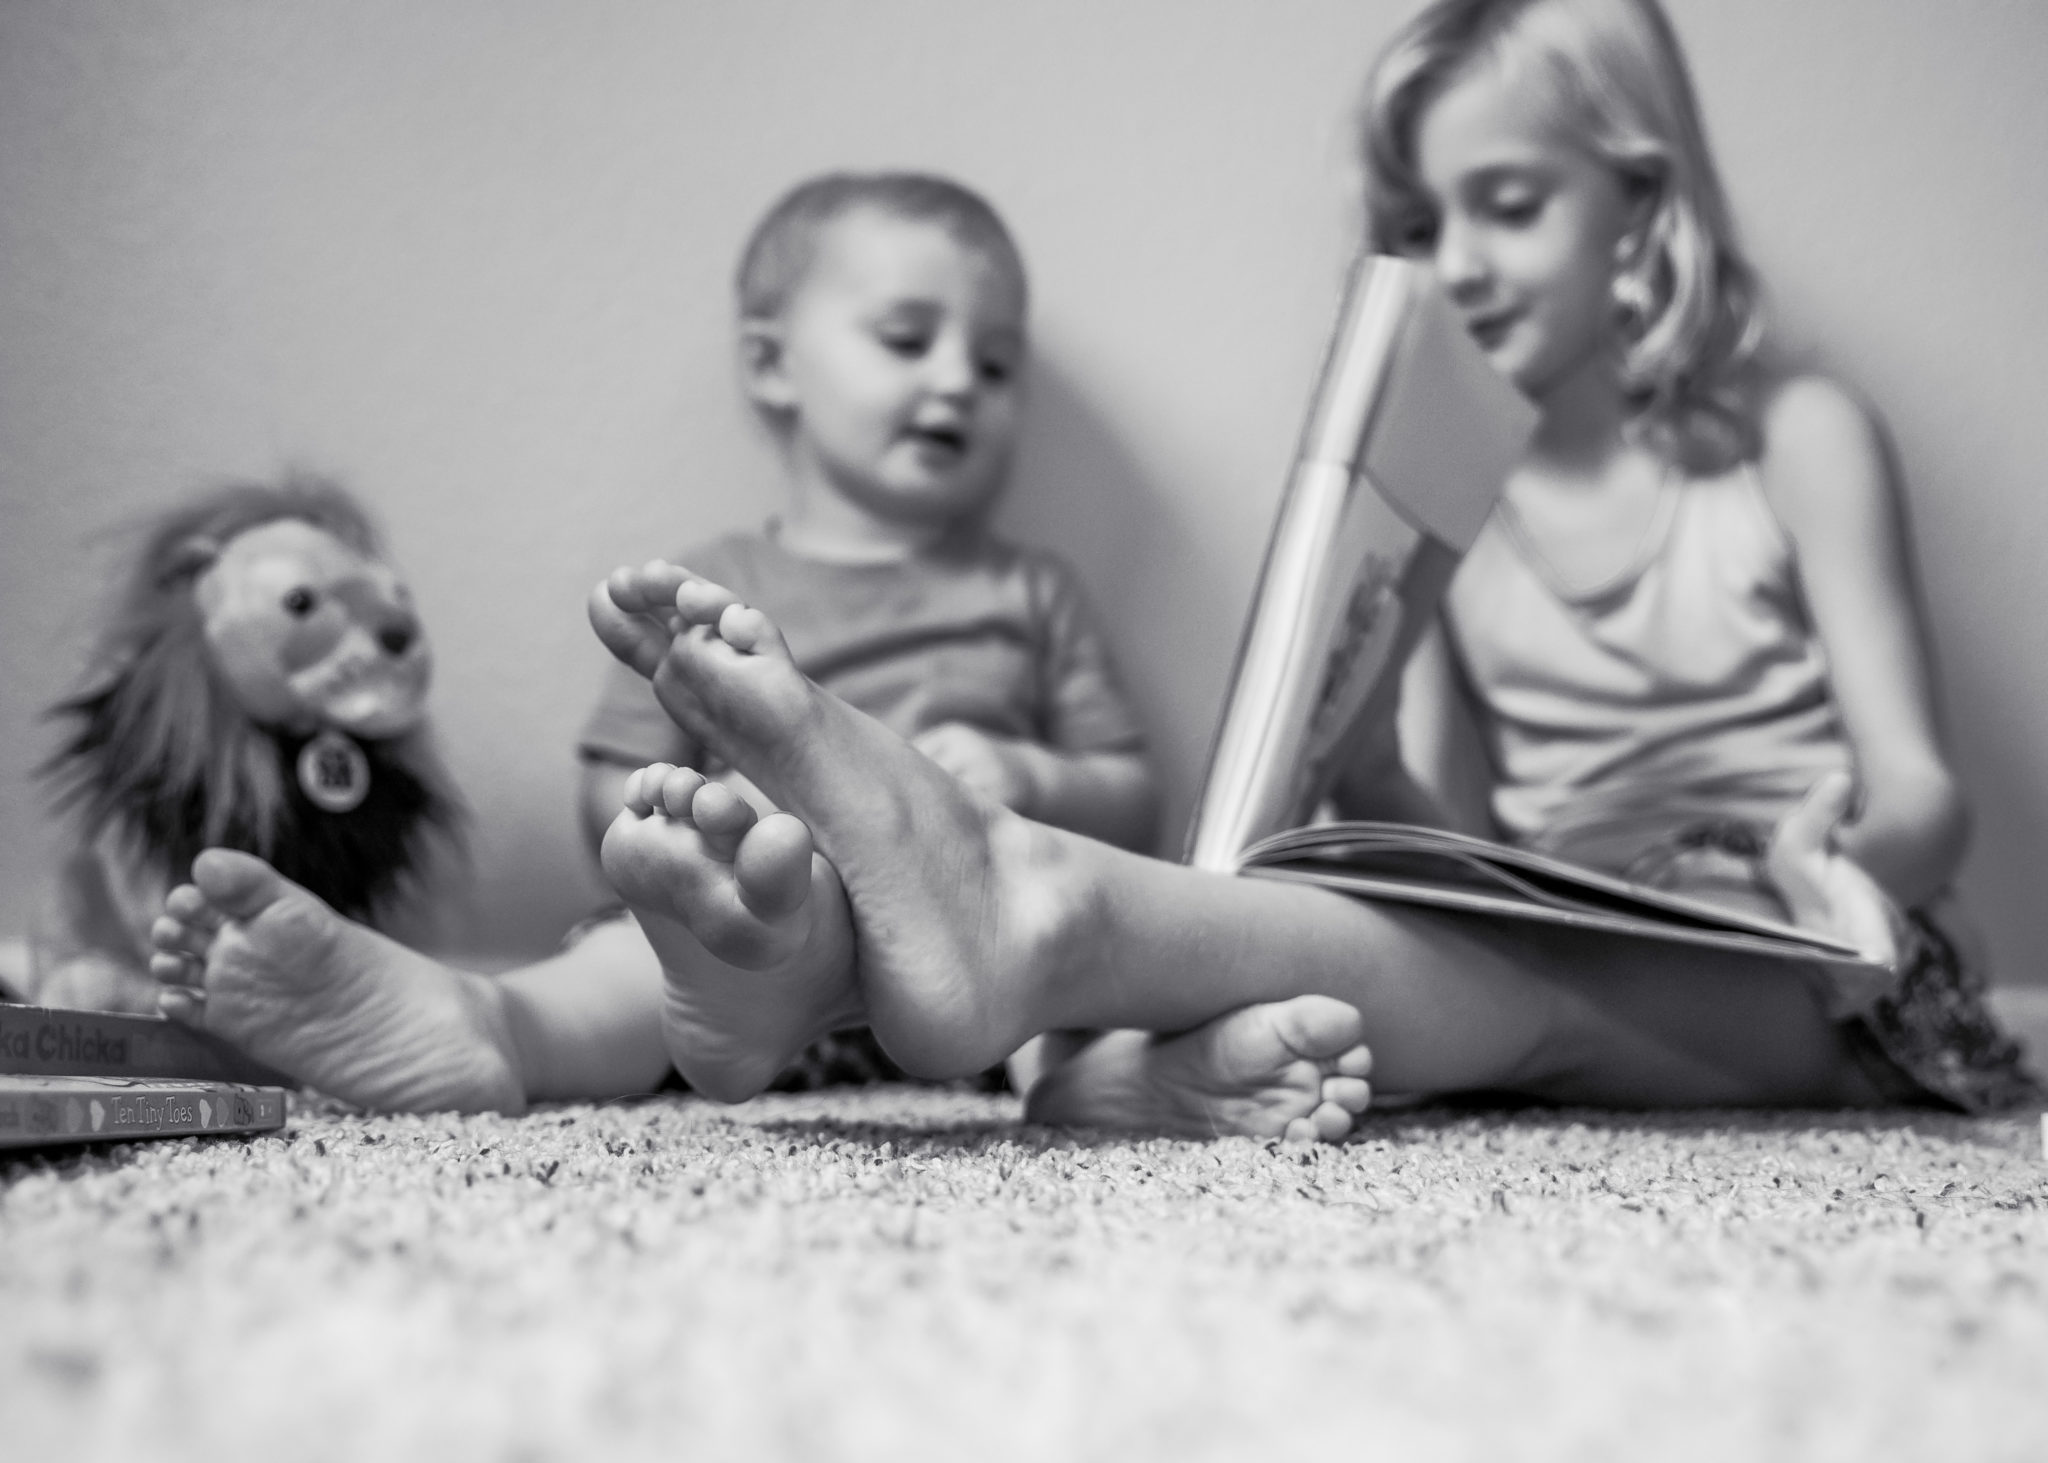
- Try to engage with your subject rather than forcing a smile
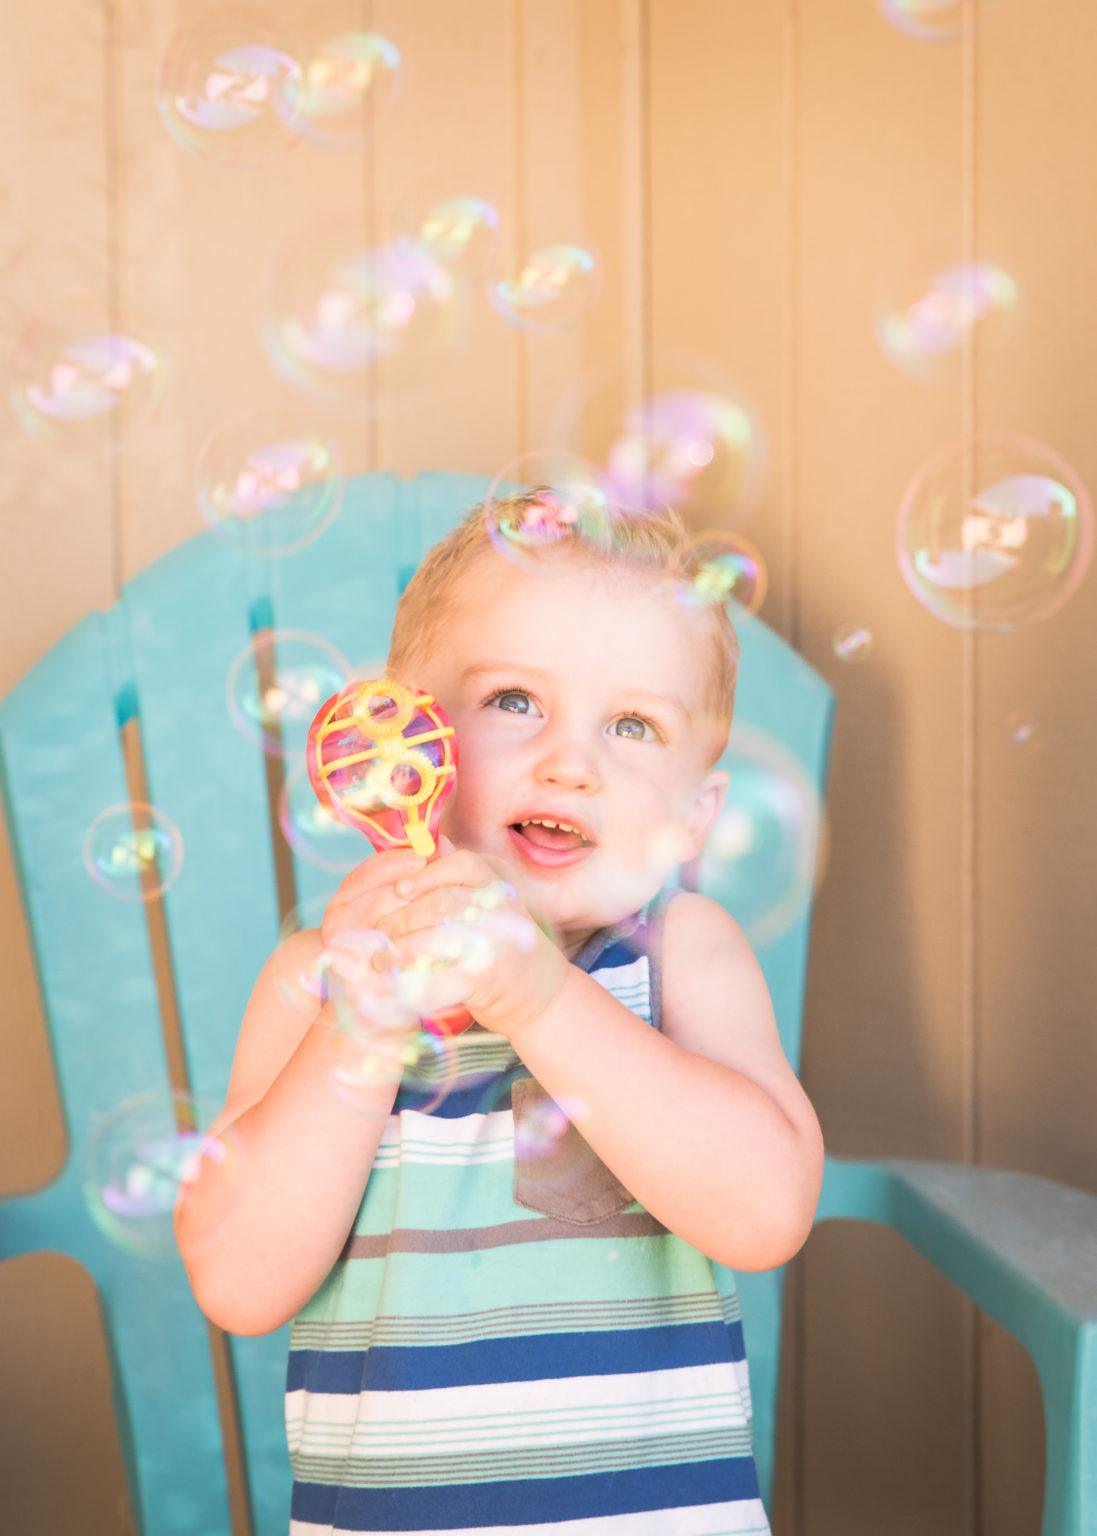
We all say it… “Smile for the Camera!” I say it all the time to my kids. But how many times do they actually smile? Maybe 20% and that is generous. Try giving them something to do. Go outside, find your spot and then have them pull grass and throw it in the air. Another great photo op for kids is always bubble time. If you don’t want them to be doing anything then talk with them. Get them to laugh, tell funny jokes or ask for their best joke. Potty talk always makes the kids giggle.
Let’s recap:
Lighting, lighting, lighting! Make sure the light on your subject is even; no patchy light. Have your subject separated from their surroundings and remove objects that take your eye away from them if you can. Try to use natural light without the flash. Move around your subject to change it up. Lastly, remember to make the session fun.
Simple enough, right?? Maybe? The best advice I can give you is to give it a try and have some fun. If your kids don’t want to cooperate try it again later. I’m not going to lie and pretend like my kids make it easy. They make it a pain in the ass to get good photos sometimes, but I still try. It is much easier to photograph other people’s kids. If your kids are younger it’ll be easier from my experience as long as your expectation is not to have them sit and pose for you, it just won’t happen. Go along with them on an adventure and let their personality show.
Try it out and just remember to make it fun.
I’d love to see what you are able to capture after reading this so make sure to send me your photos or post them in the comments.
The quarantine won’t last forever and when it’s over we can get together and I can capture your memories once again. Until then, stay safe and sane during this not-so-sane time.
Be the first to comment